How to make a diaper cake?
By Katja Mayer

How to Make a Diaper Cake: A Step-by-Step Guide to the Perfect Baby Shower Gift
A diaper cake is not only an adorable and practical gift for expecting parents – it also makes a great centerpiece at a baby shower. Whether you’ve made one before or this is your first try, the process is actually simple and fun. We’ve put together a step-by-step guide to help you create a diaper cake that the mom-to-be will absolutely love. Good luck! <3
What to buy:
Diapers: The number of diapers needed for a diaper cake varies, but about 60–80 diapers (around 2–3 packs depending on the brand) is a good estimate depending on how big you want the cake to be.
Rubber bands: Small and medium-sized rubber bands to hold the diapers in place.
A sturdy center: Use something to support the cake, such as a paper towel roll, baby bottle, or narrow plastic container.
Ribbon and bows: Wider ribbon to wrap around each layer, and matching bows for decoration.
Decorations: Small baby items like pacifiers, socks, baby oil, toys, or stuffed animals.
Cake board: A firm base to build the diaper cake on – for example, a large round piece of cardboard or a cake board.
Cellophane: Wrap the cake in cellophane and top it off with a cute decoration.
How to make it:
-
Roll the diapers
Start by rolling all the diapers. Lay each diaper flat and roll it from the waistband end (top) down toward the bottom (the part that goes under the baby’s bum). This gives you a tight and even roll. Secure each roll with a small rubber band to hold it together. -
Create the bottom tier
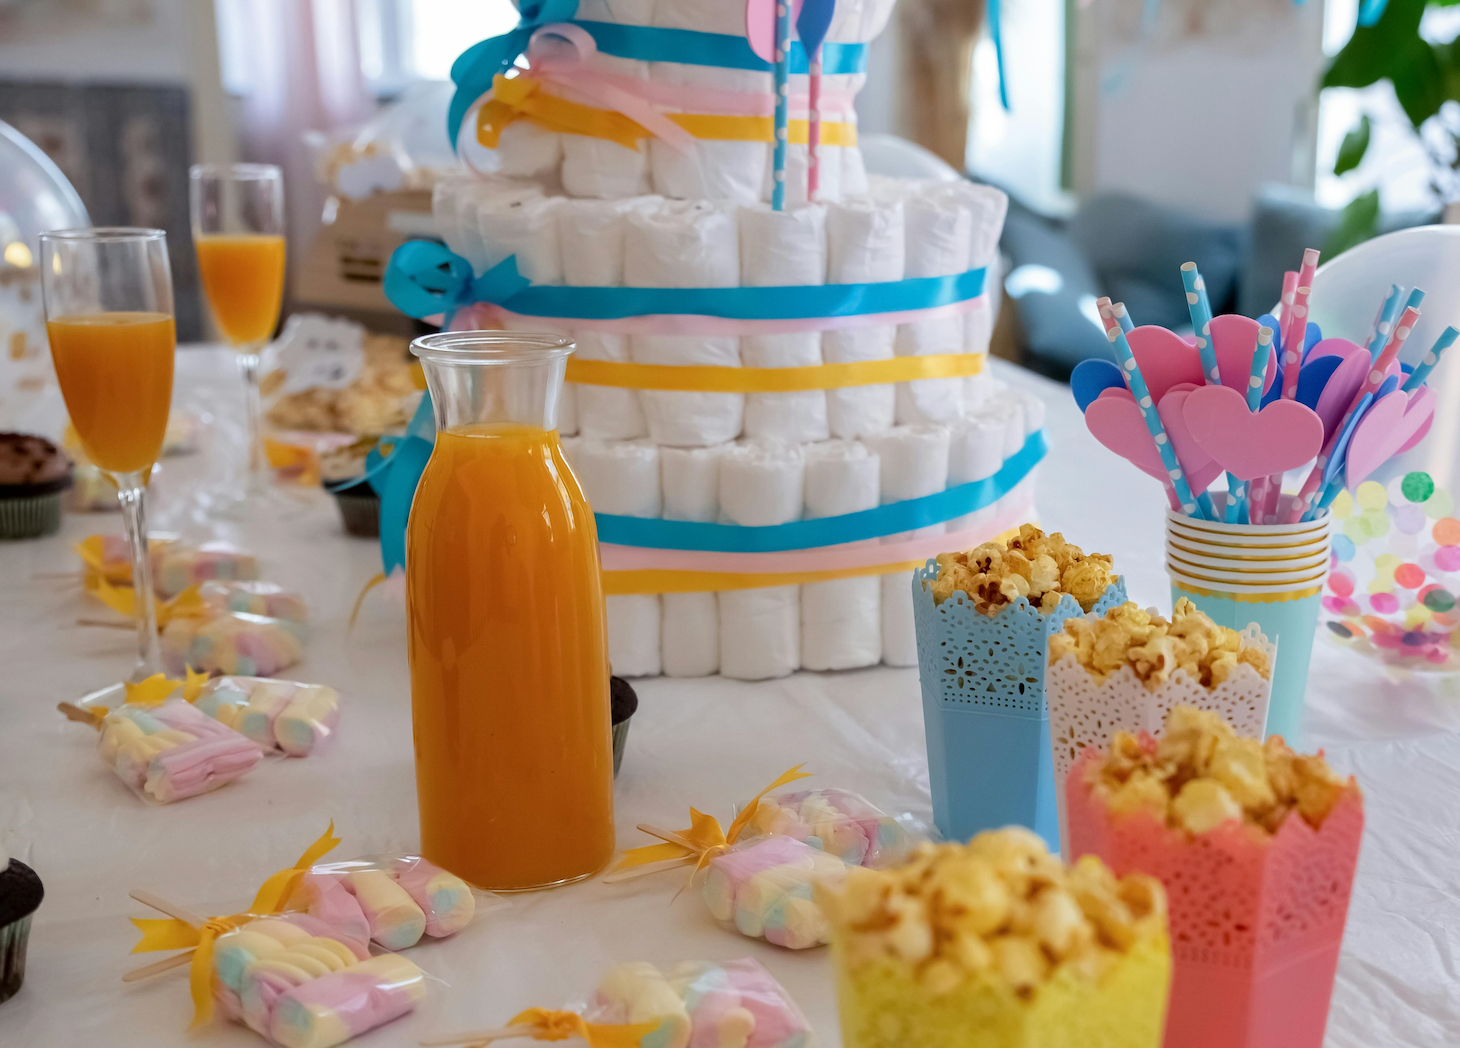
Place your center piece (e.g., a paper towel roll) in the middle of the cake board. Begin placing diaper rolls around the center and secure them all together with a large rubber band around the entire tier. Continue adding more rolls around the outside until you have a full, stable base tier. Usually two or three rows of diapers are enough for the bottom layer. -
Build the other tiers
Repeat the same process for the next tier, but with fewer diapers in each ring. The second tier typically has one or two rows of diapers. If you’re making a third and final tier, use even fewer diapers to make each layer smaller than the one below. -
Add the ribbon
Once all tiers are built, it’s time to cover the rubber bands with decorative ribbon. Choose a wider ribbon and wrap it around each layer to hide the rubber bands. Secure the ribbon with double-sided tape or a small safety pin at the back. -
Decorate the cake
Now for the fun part! Decorate the cake with baby items. You can tuck in small pacifiers, socks, or toys between the diapers, or attach them using small safety pins. Let your creativity flow! You can tailor the cake based on the baby’s gender or just decorate it however you like. -
Finish with cellophane
Wrap the entire diaper cake in cellophane. It adds a luxurious touch while keeping the cake hygienic and protected during transport.
Pro tip:
To make the cake even more personal, add photos, small cards, or well-wishes. It’s often a super appreciated touch! <3
- Tags: Inspiration


